Are you tired of the look of your home’s walls but don’t want to commit to a full-scale renovation? There are many ways to update your home walls, like wallpaper, painting and using some art decal. But we highly recommend using peel-and-stick tile over existing tiles. For these versatile and stylish tiles offer a cost-effective and time-efficient way to refresh your living space without the hassle of tearing out existing tiles. In this guide, we’ll explore why peel and stick tiles are an excellent choice for your home old wall update, specially the old kitchen and bathroom backsplash tiles.
Why Select Peel-and-Stick Tile for Existing tile covering project?
Peel-and-stick tiles, also known as peel-and-stick backsplash tiles, are a game-changer in the world of home improvement. Here’s why they’re worth considering for your wall update project:
- Easy Installation: Peel-and-stick tiles are incredibly user-friendly. They come with adhesive backing, eliminating the need for messy tile adhesive or grout. You can install them with basic tools, making it a perfect DIY project.
- Time-Saving: Traditional tiling can be a time-consuming process with drying times for adhesive and grout. Peel-and-stick tiles allow you to complete your project in a fraction of the time.
- Budget-Friendly: Peel-and-stick tiles are an affordable option for those looking to update their walls without breaking the bank. You can achieve a high-end look at a fraction of the cost of traditional tiles.
- Endless Styles: Whether you prefer a classic subway tile, a vibrant mosaic, or a rustic stone look, there’s a peel-and-stick tile style to match your design vision. These tiles come in a wide range of colors, patterns, and textures.
How to Installing Peel-and-Stick Tiles Over Existing Tiles
One of the most significant advantages of peel-and-stick tiles is their versatility, including the ability to install them over existing tiles. Here’s how to do it:
- Prepare the Surface: Ensure that the existing tiles are clean, free from grease or residue, and in good condition. If necessary, lightly sand the tiles to create a textured surface that improves adhesion.
- Measure and Plan: Measure the area you want to cover and plan your layout. Start from the center and work your way outward for a symmetrical look.
- Peel and Stick: Remove the backing of the peel-and-stick tiles and adhere them to the existing tiles, following your layout plan. Use a level and pencil to mark guidelines to ensure the tiles are aligned correctly.
- Trim and Finish: Use scissors or a utility knife to trim tiles as needed to fit corners, edges, or outlets. Press each tile firmly to ensure good adhesion and use a clean, dry cloth or a rubber roller to eliminate air bubbles.
- Grout (Optional): Some peel-and-stick tiles come with the appearance of grout lines. If you want a more authentic look, you can use grout to fill the spaces between the tiles.
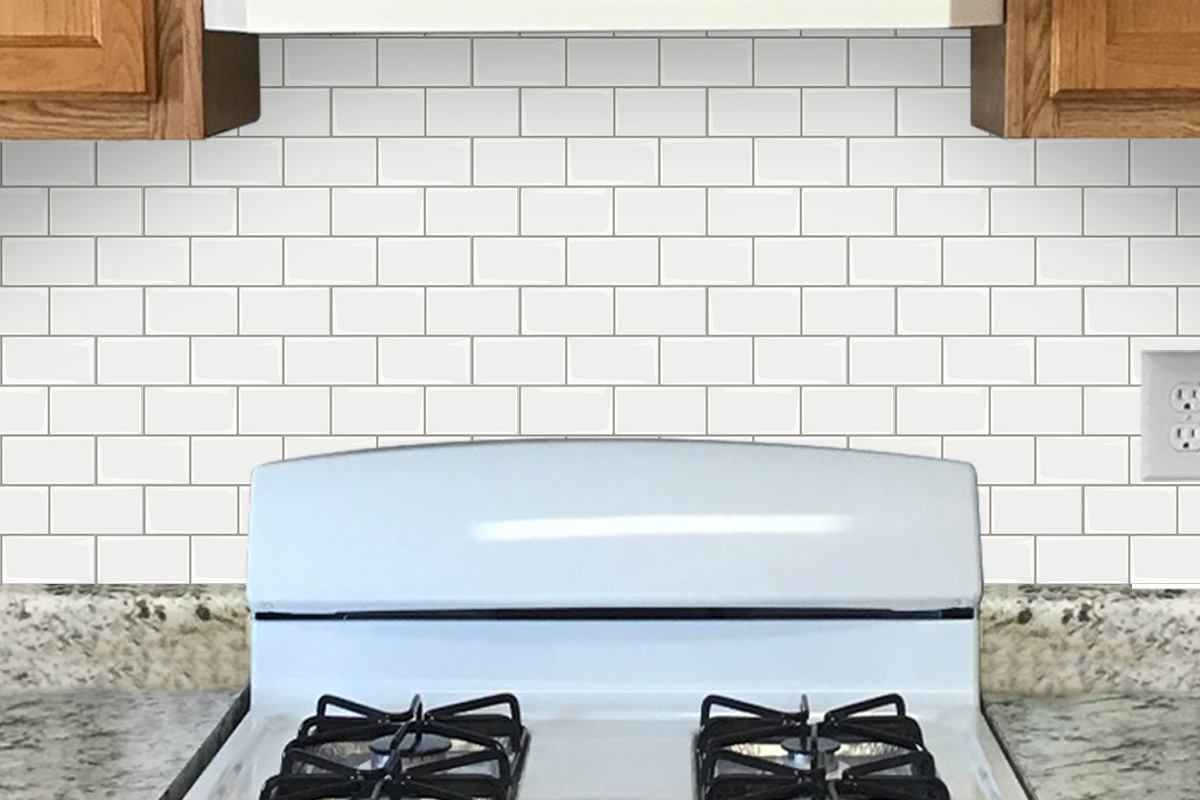
Peel and Stick Tile Over Existing Tiles Gallery
Below are projects from our customers after purchased our peel and stick tiles for their home wall update project


Maintenance and Longevity
Peel-and-stick tiles are generally easy to maintain. Regular cleaning with a mild detergent and a soft cloth is usually sufficient. However, keep in mind that while they are durable, they may not be as long-lasting as traditional tiles. Over time, you may need to reapply or replace them.
Conclusion
Peel-and-stick tiles offer a fantastic way to update your home’s walls without the time and cost associated with traditional tiling. Whether you’re tackling a kitchen backsplash or adding flair to your bathroom, these versatile tiles can transform your space. So, get creative, choose your favorite peel and stick tile over existing tiles, and give your walls a fresh new look today!